Show who's wearing it
Add each model once in the Shopify admin, pick one on every product they wear, and a small card shows their photo, name, height and size.
The Model info card sits on the product page and tells shoppers who is wearing the piece in the photos: a small round photo, their name, their height ("Height: 5'5 ft") and the size they wear ("Wears Small"). It helps shoppers judge the fit. The same details show under the fit in the size guide.
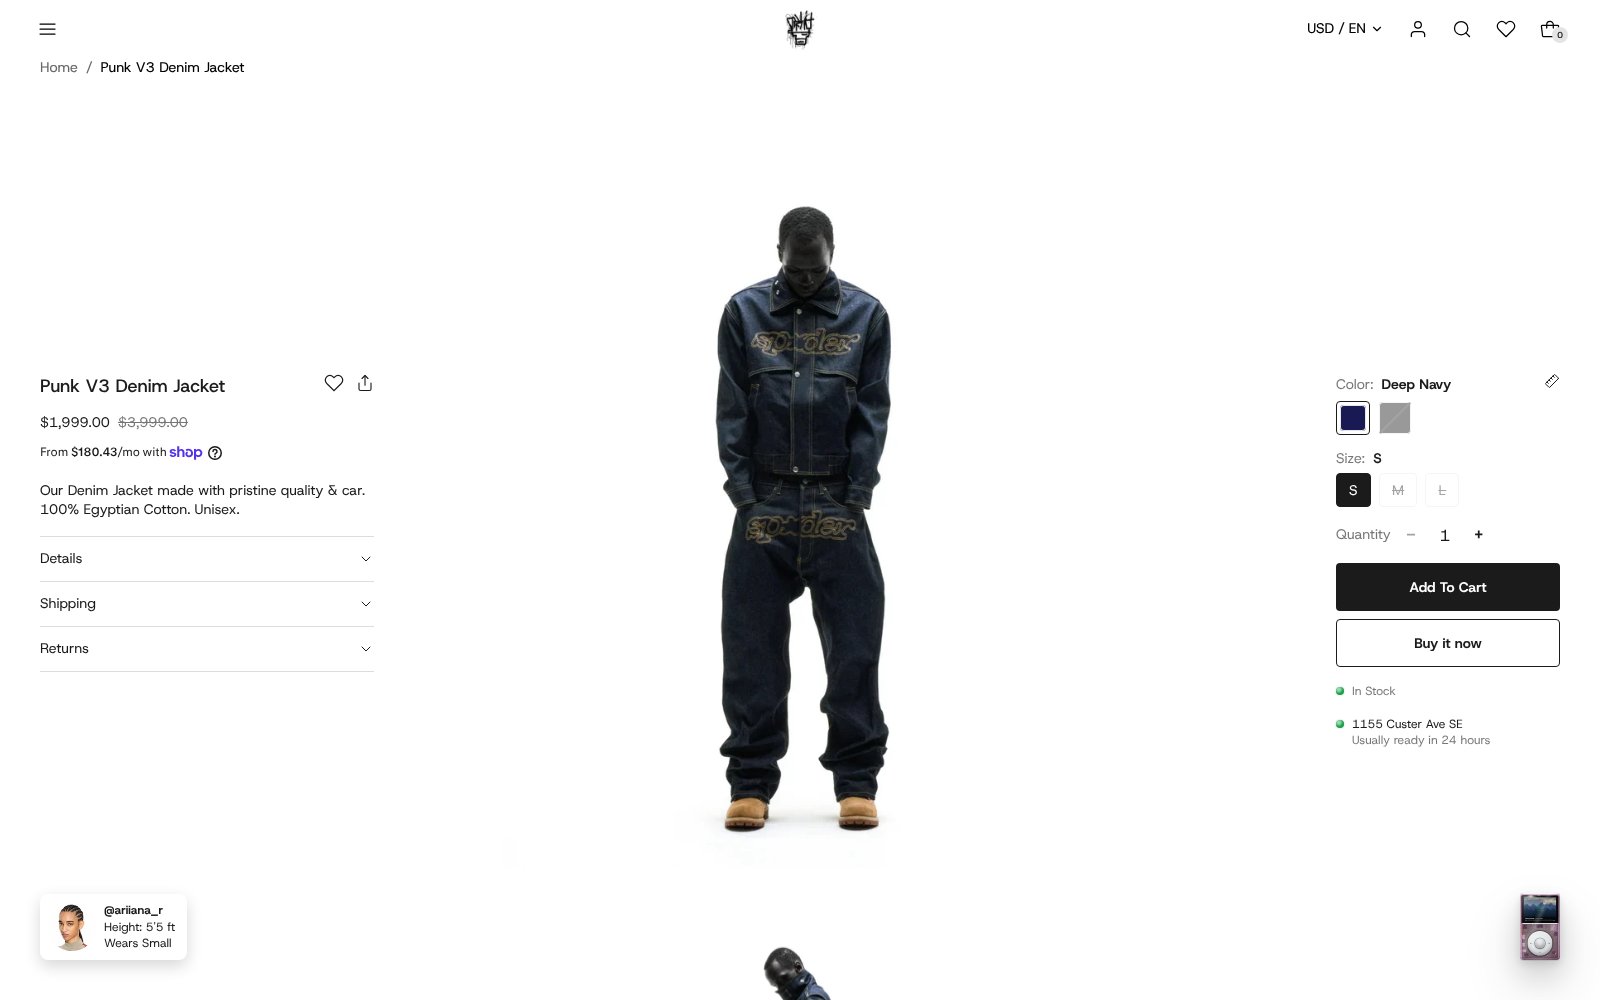
You add each model once and reuse them. If Ariana wears twenty pieces, you pick "Ariana" on each one, and changing her photo later updates all twenty.
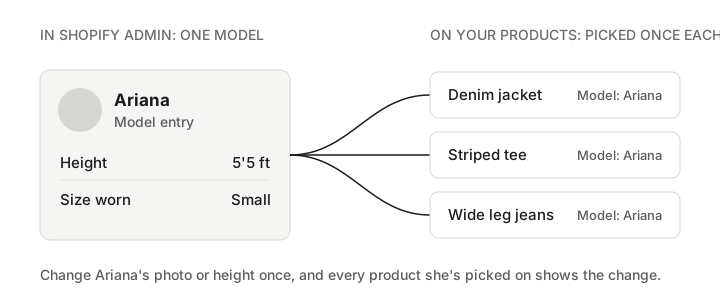
Setting it up takes four steps in the Shopify admin. You do the first two only once.
1. Create the Model type
This tells Shopify what a model holds.
- In the Shopify admin, go to Settings, then Custom data, then Metaobjects, and add a definition.
- Name it Model. Check that its type is
model. - Add the fields below. The key in the second column has to match exactly, or the theme won't find the field.
| Field name | Key | Type | Notes |
|---|---|---|---|
| Name | name |
Single line text, required | Shown on the card, for example "Ariana" or "@ariana_r". |
| Photo | photo |
File (images) | Optional. A head-and-shoulders photo works best; it shows as a small circle. |
| Height | height |
Single line text | Optional. Type it the way you want it read, for example "5'5 ft" or "165 cm". |
| Size worn | size_worn |
Single line text | Optional. For example "Small" or "M". |
- Turn on Storefronts access for the definition. Without it, your store can't show the card.
- Save.
2. Let products pick a model
- Still in Custom data, open Products and add a definition.
- Name it Model, with the namespace and key
custom.model. - For its type, choose a metaobject reference, and pick Model.
- Save.
3. Add your models
- Go to Content, then Metaobjects, open Model and add an entry.
- Fill in the name, photo, height and size worn, and save.
4. Pick a model on each product
- Open a product in Products.
- In Metafields, pick the model in Model, and save.
The card shows on that product straight away. A product with no model picked shows no card.
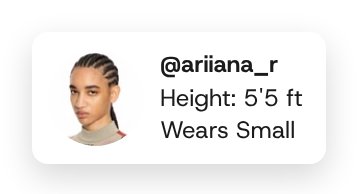
On a computer the card floats in a bottom corner of the screen while shoppers scroll through the photos, and stays clear of a music player. On phones it sits under the description, above the sizes.
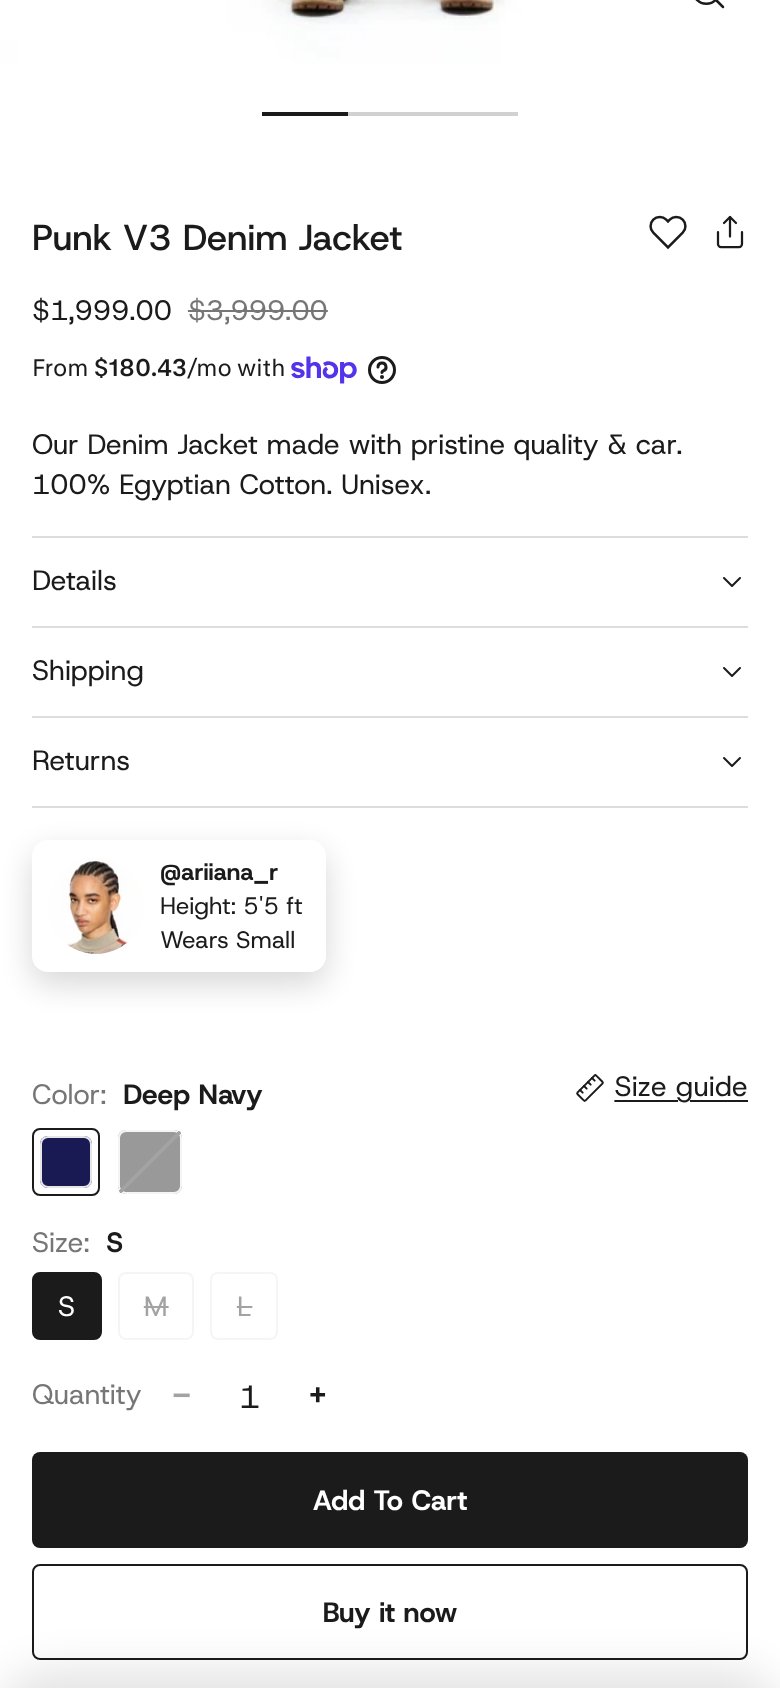
If the product also has a size guide, the same model shows under the fit, so shoppers can compare their own height with the model's.
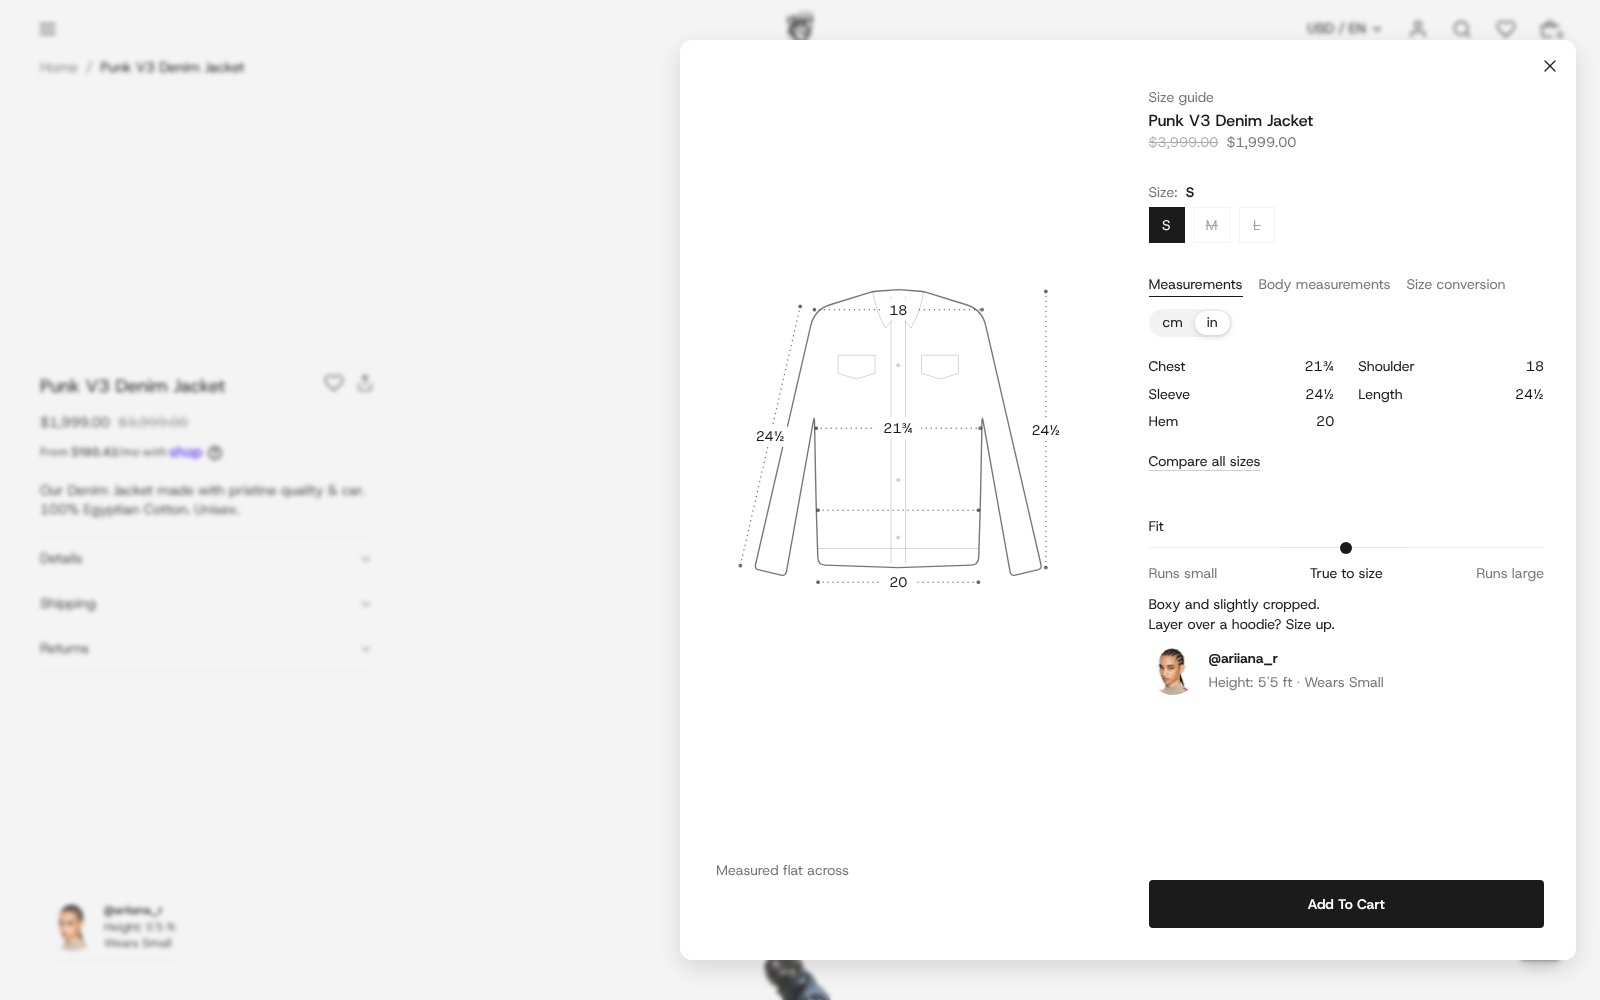
Where the card shows
The card comes from the Model info block in your product page layout. In the theme editor, open a product page, then select Model info in the sidebar to change its corners, shadow, colors and style (Solid or Glass). If you don't see it, choose Add block in the product details and pick Model info.
If a product's model wore a different size for its photos, add a second entry for them, for example "Ariana (Medium)".
Already using the older model fields?
Stores set up before Models used three fields on each product (custom.model_image, custom.model_spec_1 and custom.model_spec_2). Those still show on any product with no Model picked, so nothing disappears while you move over.