Lookbook: Grid
A few words above a grid of photos, with a row of names to switch between several lookbooks.
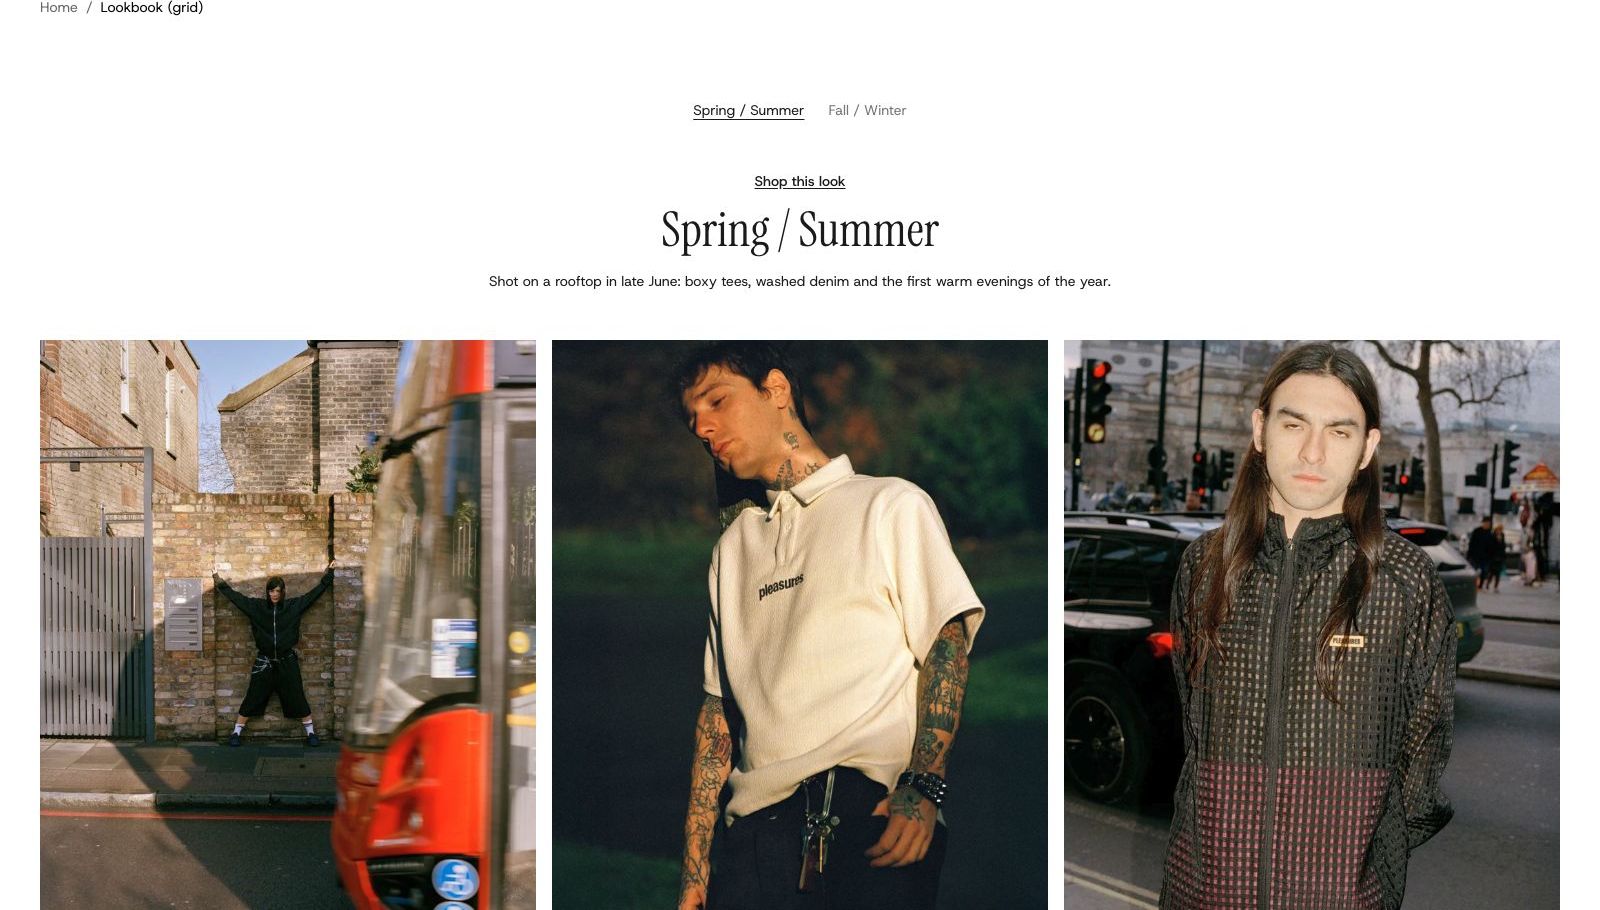
A lookbook as a heading, a line of text and a button, above an even grid of photos. Add several lookbooks to one section and a row of their names appears on top, so shoppers switch between seasons without leaving the page. Choose it when you want the photos tidy and easy to scan.
Setting up a whole lookbook page, filling it with photos and every setting of the Lookbook, Words and Photos blocks are covered in Lookbooks. This page covers adding the section on its own.
Add it
Add it to any page except the password page, from Storytelling in "Add section". It cannot go in the header or footer. A store also has a ready-made lookbook-grid page template built on it.
As first added it has two Lookbook blocks, "Spring / Summer" and "Fall / Winter". Each has a "Shop this look" button, a heading, a line of text and six empty photo slots.
Settings
Select the section itself to see these.
| Setting | What it changes | Options |
|---|---|---|
| Color scheme | Background, text and the row of names. See shared settings. | Default: Scheme 1. |
| Click to enlarge | What happens when a shopper clicks a photo. See Click to enlarge. | None, Fill the screen, Over the page, Scroll through all (default), Drag through all |
| Space above, Space below | See shared settings. | As added: Medium. |
Blocks
Each Lookbook block is one shoot, with a Name (shown in the row of names) and two fixed parts: Words above and Photos below. To add a photo, select Photos and add an Image block. The settings of each are in Lookbooks.
Tips
- With one Lookbook block there is no row of names: the section is simply words over a grid.
- Keep each Name short, such as a season. The names sit in one row.
- Choose Portrait or Square for Image shape in Photos if your shots are a mix of shapes and you want even rows.