Give each product its own accordion text
Make the Details, Shipping or Returns rows on your product page say something different for every product, using a product field you fill in once per product.
The rows that open and close on your product page (Details, Shipping and Returns to start) are part of your product page layout. Text you type into them in the theme editor shows on every product that uses that layout. That's right for Shipping and Returns, which are usually the same for everything you sell. For text that changes from product to product, such as fabric, fit or care, give the row a product field to read from instead.
You set up the field once, fill it in on each product, then connect the row to it.
1. Create the product field
In the Shopify admin, go to Settings, then Metafields and metaobjects, then Products.
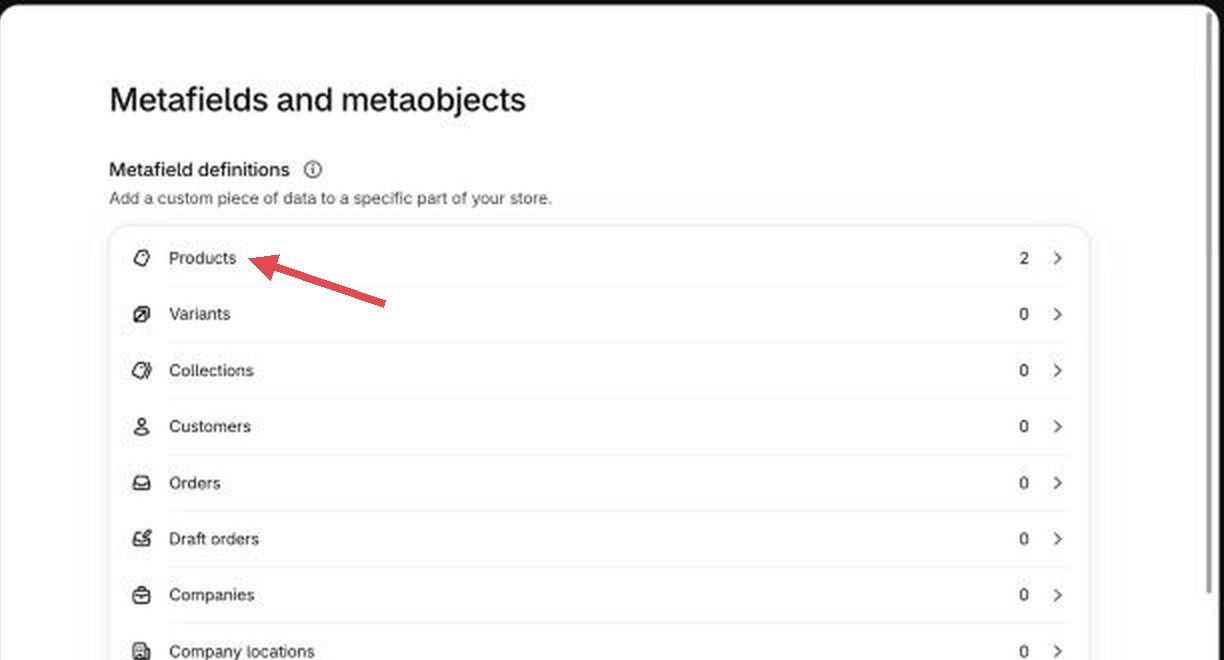
Settings, then Metafields and metaobjects Choose Add definition.
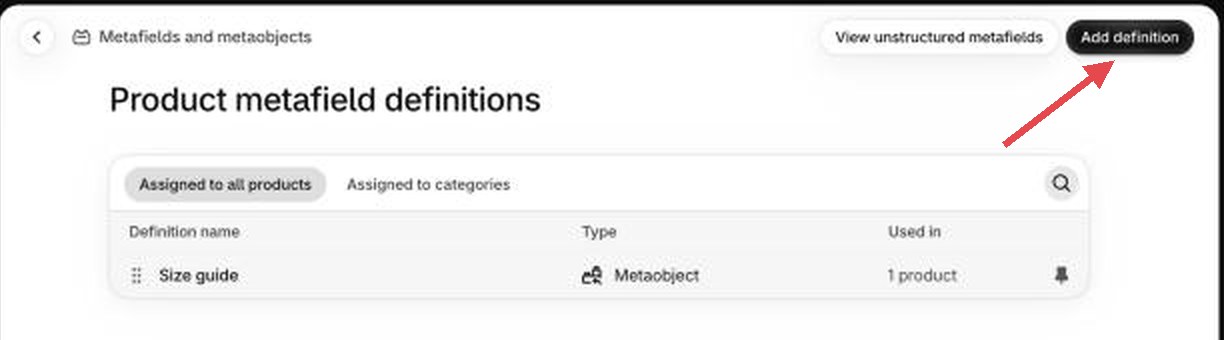
Add definition, top right Name it after the row, for example Fabric & care.
For the type, choose Rich text, so you can use bold, lists and links.
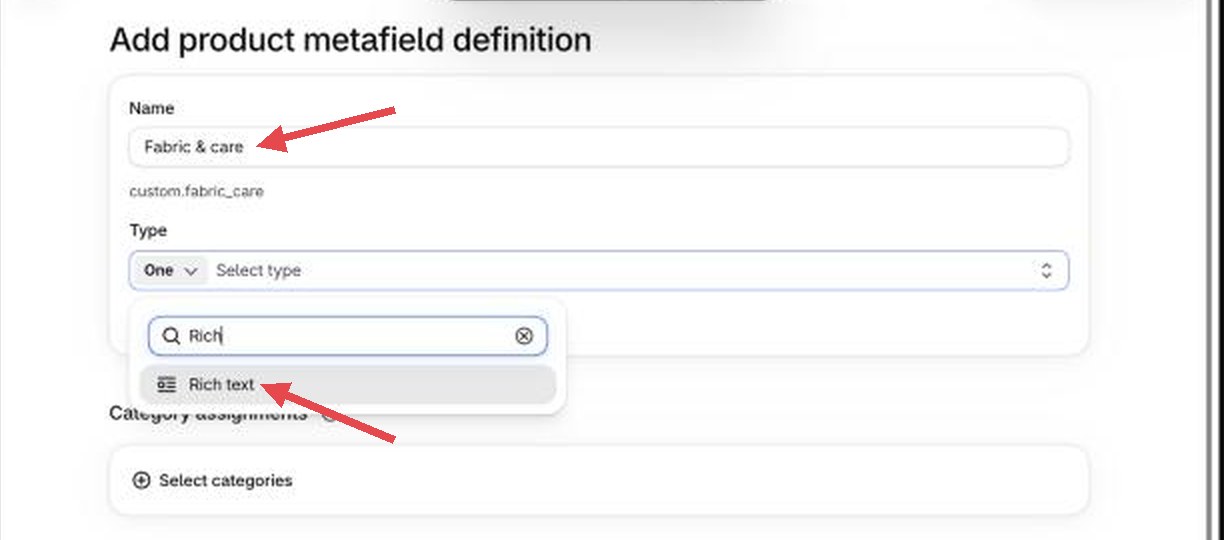
Name it, then pick Rich text Save.
Make one field for each row that should change per product.
2. Fill it in on each product
In the Shopify admin, open a product.
Scroll to Product metafields near the bottom of the page. Your new field is there. Click Add beside it.
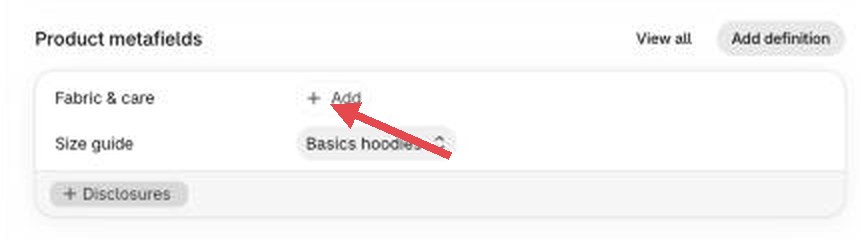
Your new field, on every product Type that product's text, choose Done, then save the product.
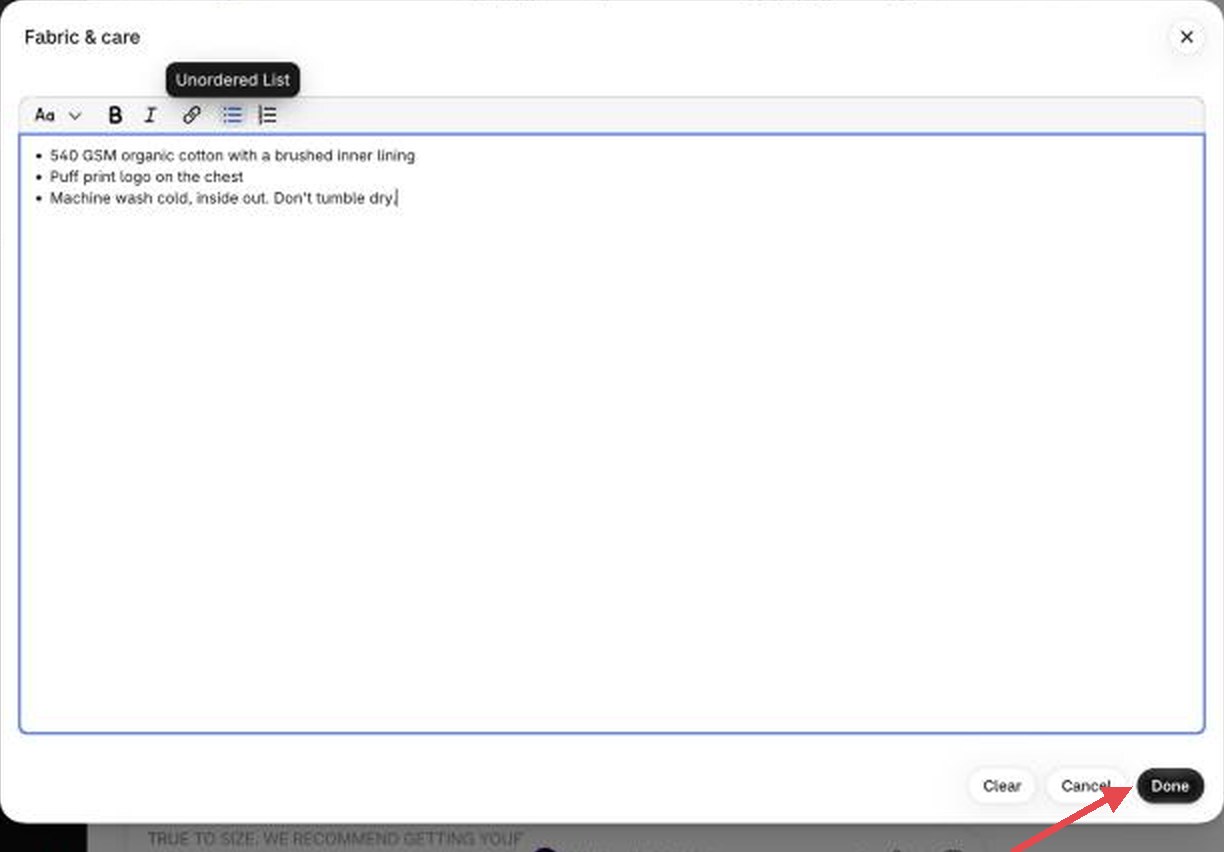
Bold, lists and links all work here 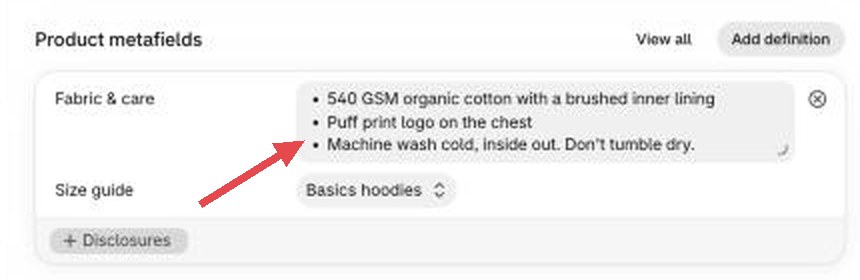
Filled in on this product
Do this for every product that uses the row. See "Products with nothing filled in" below for what happens if you skip one.
3. Connect the row to the field
In the theme editor, open a product page. Choose a product you filled in, so you can see the result.
In the sidebar, open the Accordion, then the row you want, for example Accordion row – Details.
Select the text block inside the row (it's called Answer).
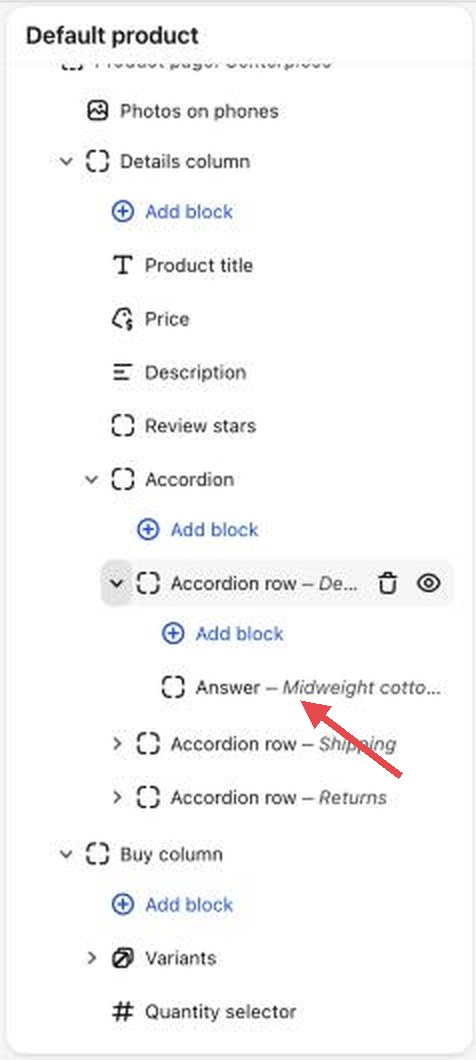
The Answer block, inside the row Delete the text in its text box first. Otherwise the product's text is added after it, and every product shows both.
Above the text box, choose the Connect dynamic source button (it looks like a small stack of disks).
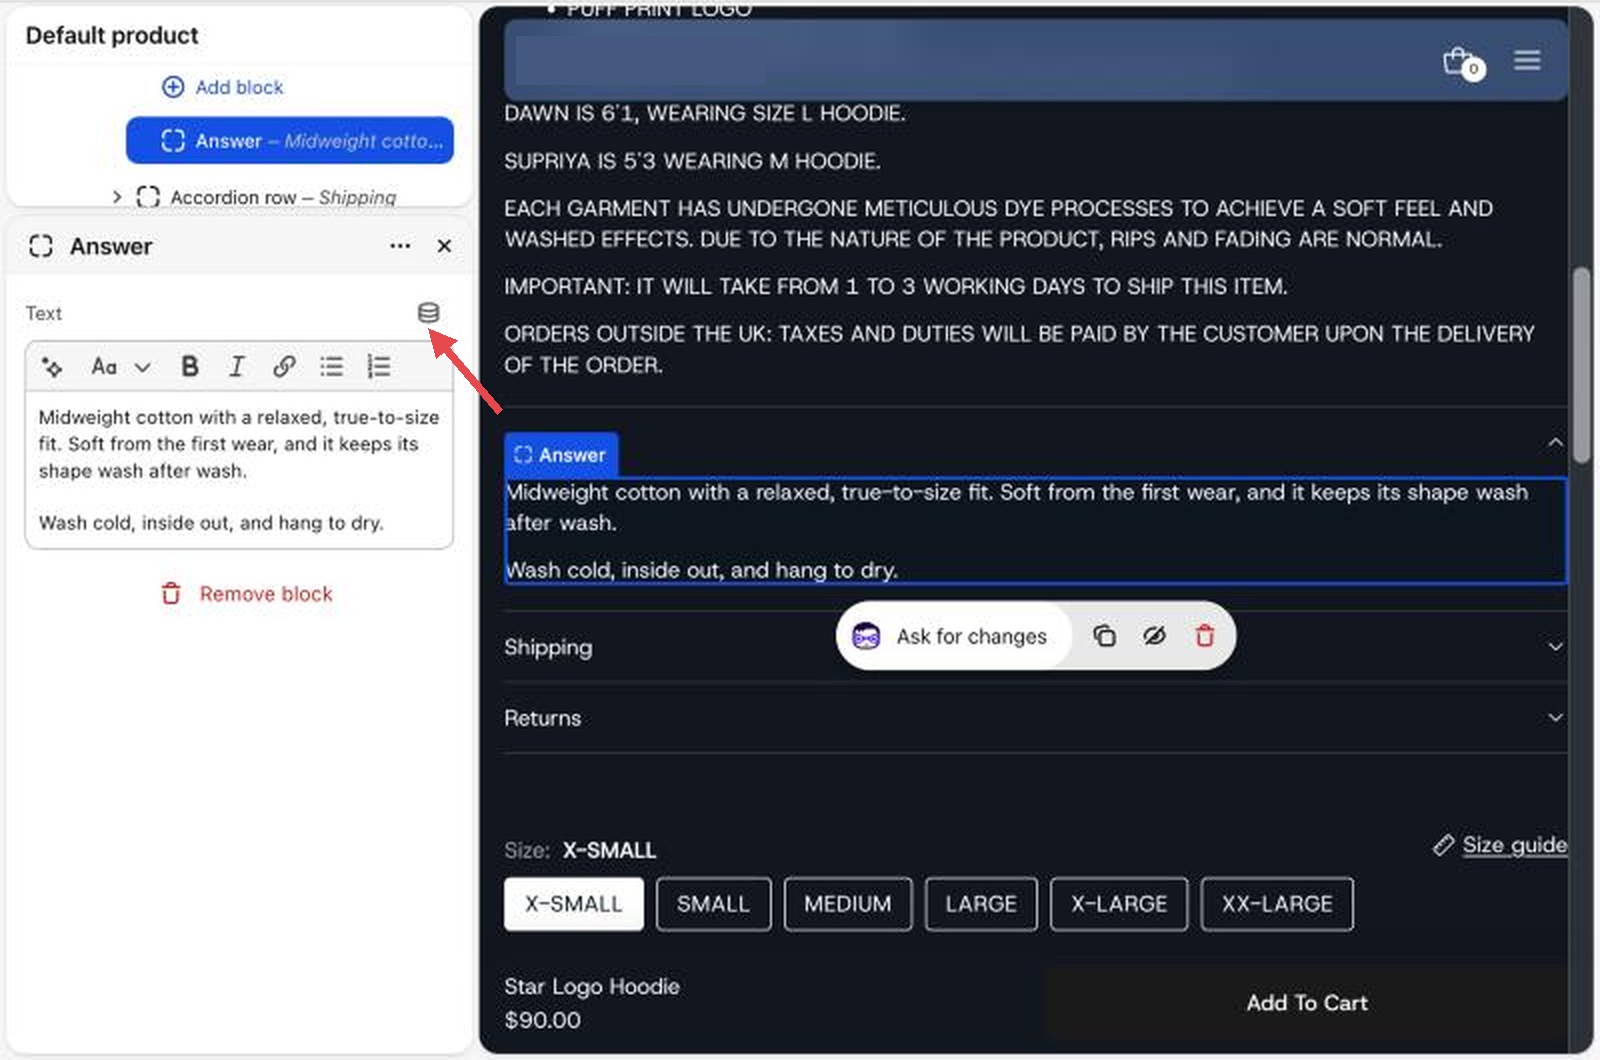
The Connect dynamic source button Pick your field, for example Fabric & care, then Save.
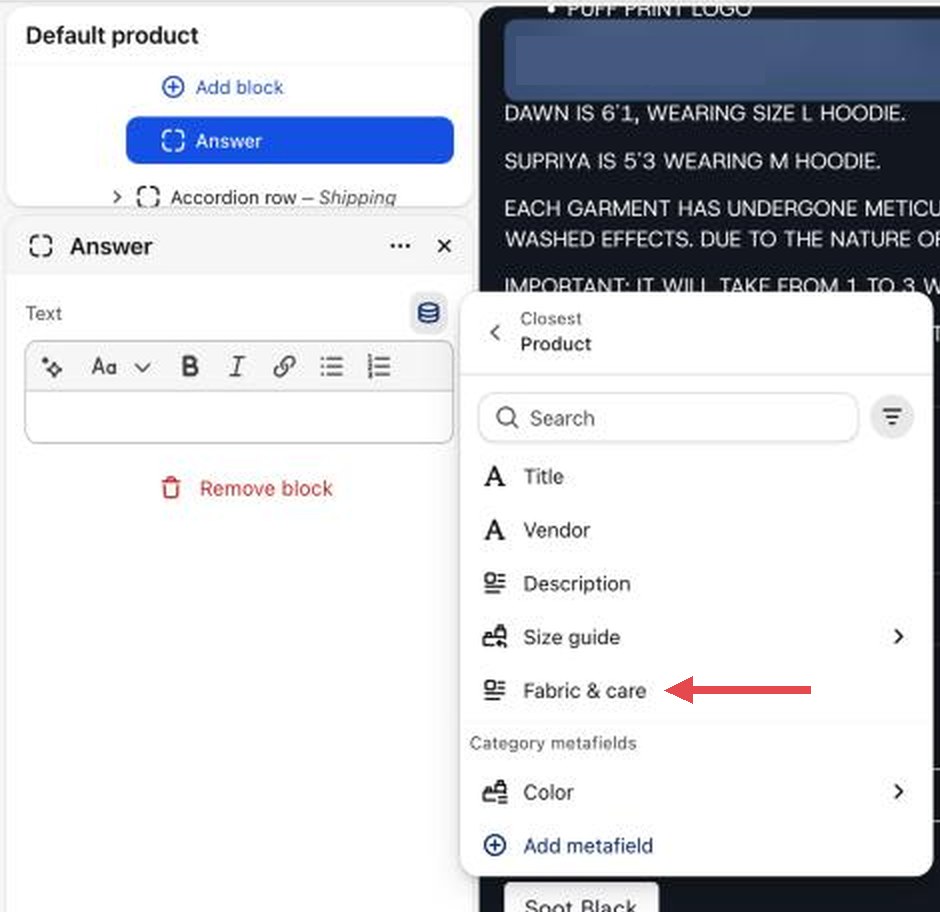
Pick your field 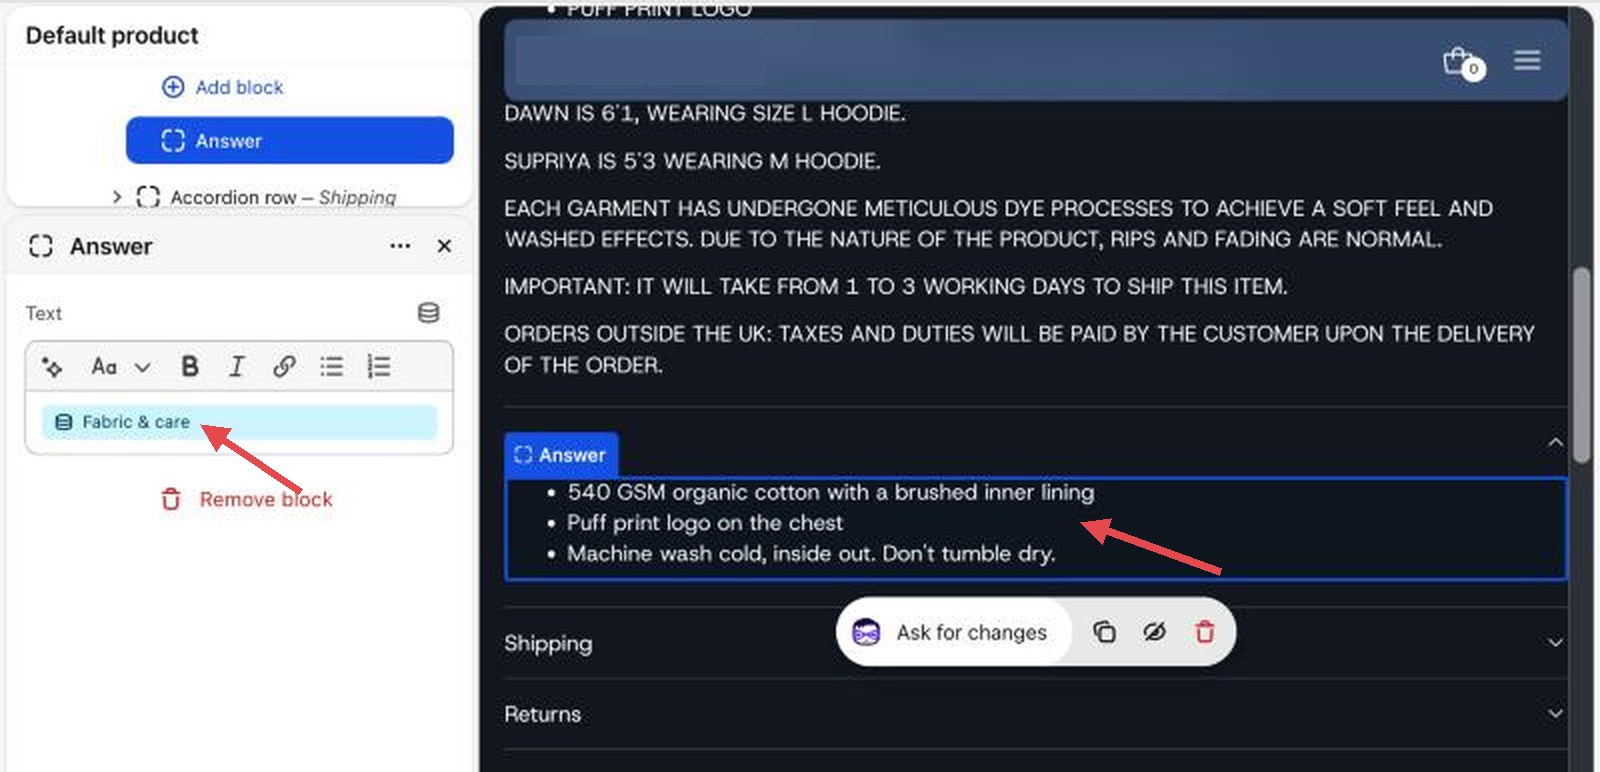
Connected: the row shows this product's text
What you should see: the row's text is now that product's own text. Switch to another product in the editor to check it changes.
Each product layout has its own accordion, so if you use more than one layout, connect the row in each one.
Change the row's heading per product too
The row's heading can read from a product field the same way. Create a Single line text field (for example Details heading), fill it in on each product, then select the row itself and connect its Heading to that field. Most stores keep one heading for everyone and only change the text.
Products with nothing filled in
A product with the field left empty still shows the row, with nothing inside when it opens. To avoid that:
- Fill in the field on every product that uses this product page layout.
- Or give the products that don't need the row their own layout: in the theme editor, make a new product template without that row, then pick that template on those products in the Shopify admin, under Theme template.
A row with an empty heading doesn't hide either. It shows the heading "Details".
Good to know
- You can mix both kinds of row. Keep Shipping and Returns as typed text, the same for everyone, and connect only Details to a product field.
- A row can hold more than text. Add a picture, a button or a video to it in the editor. Those stay the same on every product.
- The product's main description, from the Description box in the Shopify admin, already changes per product. Use the Description block if one block of text is all you need.